Custom Campaigns
You can create personalized campaigns for each user.
Use variables that change according to the data of the user you want to address.
This feature will allow you to enhance your messages with attractive information such as username, city of origin, favorite food or any other concept that you think is important to communicate with your users.
Notification Example:Hi, Pablo! We have discounts in our Madrid store, are you going to miss them?
The scheme would be this: Hello {{Variable name}} ! We have discounts in our {{City variable}} store, are you going to miss them?
In this very simple example, the variables will be the customer's name and city.
Create .CSV
The first thing we will need is to create a CSV file that contains in the Header, the name of each variable that we are going to use together with the deviceId.
The deviceId is a unique number that is assigned for each device that has agreed to receive notifications. Without this variable, custom campaigns will not work.
The CSV file should look like this (the header in this example consists of: deviceId, name, phoneModel. Which would be the variables):

Design custom campaign
In the side menu of the console, click on: Campaigns > Push campaigns
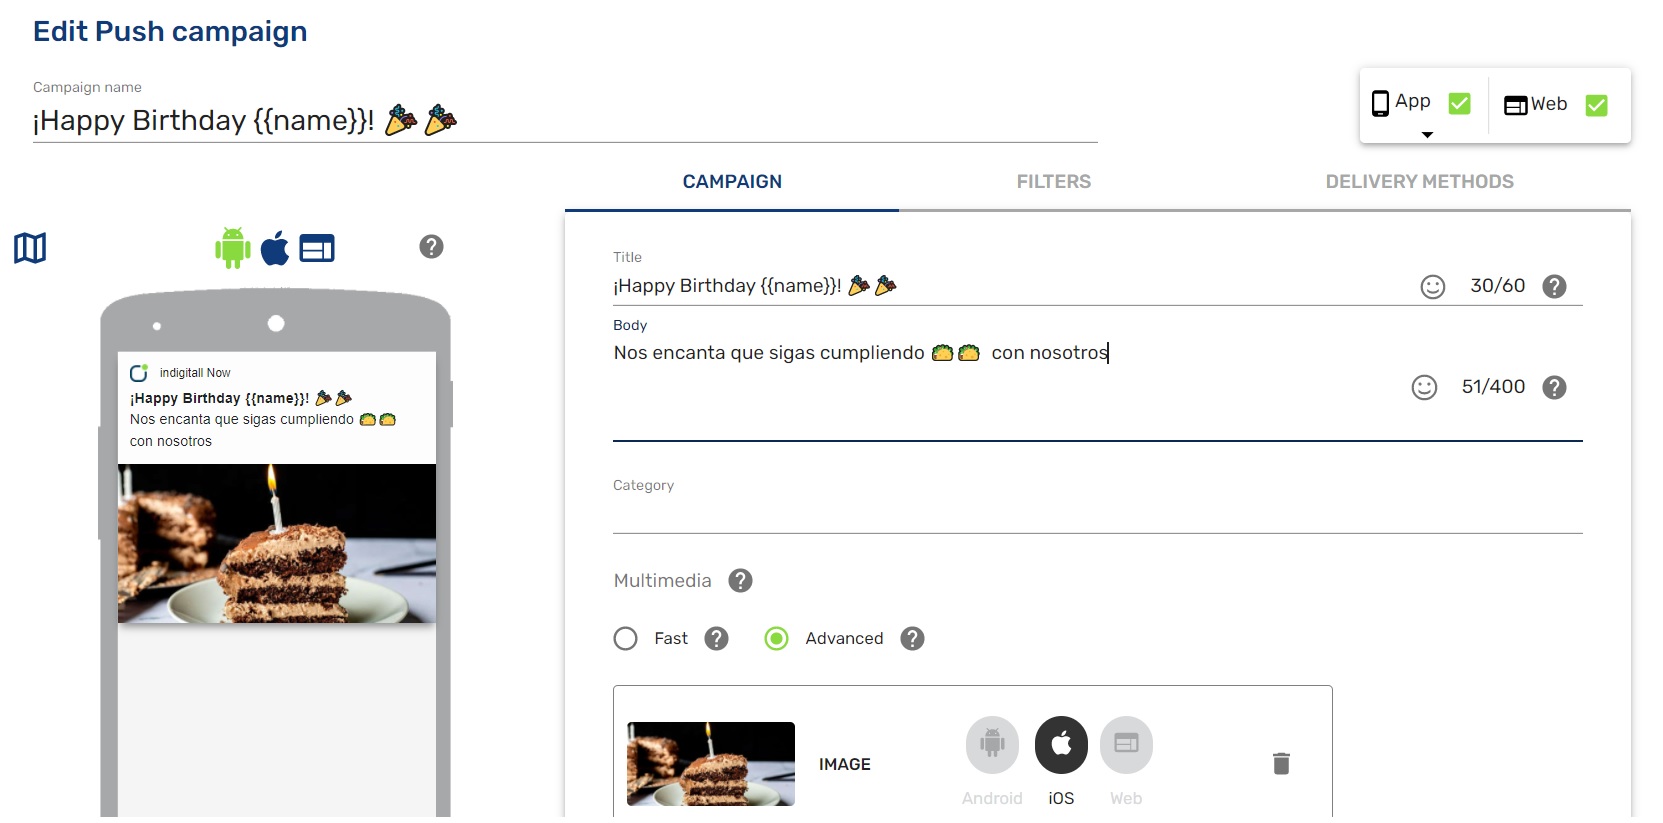
Add the name of the variable to include in the fields that interest you.
You can see an example in the following image {{name}} y {{phoneModel}}.
Once you have the CSV, you can upload the file in the next tab, filters: Filters> Device List
Now you just have to send the campaign, and see results.

Updated 6 months ago
